We are expecting our 5th little berry in December. Right smack in the middle of our school year. My pregnancies aren't easy, so our school year will have to be.
Last year we completed the switch from a workbook-based curriculum to a Mom-centered one. We no longer pull out our stack of books and get to business, each on his own. Now we all sit down together and talk, listen, discuss, interact. We have always had some of this, but now it's all we do.
Except, I can't do that much. I need to rest. And after baby comes, I will have to tend to that little person above all else. We are 2 out of 4 with colic, so I'm planning to be unavailable for 3 months.
How are we going to do this?
Well, first, I cut out everything but the barest essentials:
How are we going to do this?
Well, first, I cut out everything but the barest essentials:
Phonics
Math
Grammar
Writing
Handwriting
Reading
We are really enjoying a monthly block schedule. I went with that again. But instead of 2 or 3 topics each month, I cut it down to one.
Science
Science
History
Japanese
I can throw in other things as we find time. But if we don't find time, I've got it covered.
Another minor challenge this year, Sagg is moving up solidly into the middle grades and leaving elementary work behind. This is fine for me. He works independently for the most part. But I do have to find new materials for him, and schedule them separately from the rest of the kids. I find myself playing musical kids. Instead of all sitting down together to do our lessons, I have one or two at a time, then switch, then switch, then switch. The first two weeks were a bit chaotic. Now 5 weeks in, The chaos is mostly controlled.
As I have heard from others who use a block or unit type schedule, we cover our material quickly. By concentrating on just one subject at a time, we are able to work through a year's worth of material in a month. This is great. And will work seamlessly once I've acquired all the texts necessary. But during this time of acquisition, what happens in reality is that we are constantly ordering books. Aries is halfway through his math. Sagg needs a writing book, and is finishing up his Physics. I am ordering those today. In a few weeks, Aries will be done with his math and needing another. Even with many of our materials being free online, we will never be done with our ordering. What we need and how often will depend on how fast the kids move through their work. I expect at some point this year that we will set aside the math books and camp out with times tables. But I don't know when. There is a bit of uncertainty in that.
For the in-between times, I have some additional topics set aside. Sagg will do some logic work while he waits for his writing book. I have PreK/K free exercises on my Kindle for Gemini and Taurus to work on when I have a gap in their schedule. We have free online reading and math resources for extra practice while I rest and adapt to our new life with one more.
I expect that we will cover a lot of material and do a lot of learning this year in spite of, or maybe because of, our lighter schedule. We have already completed our elementary biology unit. Sagg has copied and memorized The Children's Hour; Aries is still working on it. Gem has mastered all of his vowels, and he and Taurus are learning their consonant sounds. We are enjoying our learning, and enjoying each other.
That is my goal for the year. To find the fun and the love and the togetherness. To lose the whining and the bickering. To rest. To play. To just be.
Specifics:
Sagg:
LOF Physics (Final Bridge today and tomorrow, a few follow up lessons, then a break)
LOF PreAlgrebra 1 and 2
Writing Strands 3,4, and 5
Writer's Workshop using No More, "I'm Done!"
KISS Grammar 6th Grade
Mensa for Kids Excellence in Reading List for 4th through 6th grade
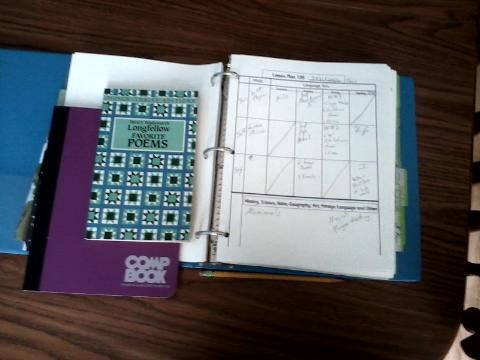
Poetry copywork and memorization- HW Longfellow
Logic Countdown
Logic Liftoff
Aries:
Life of Fred Butterflies, Cats, Dogs, Edgewood
Tumblebooks math stories
Arithmetic Village
Assorted printable games
Writer's Workshop
Grammar-Land
100 Book Club
Mensa For Kids Excellence in Reading K-3
Progressive Phonics Advanced
Poetry copywork and memorization- HW Longfellow
Cursive
Gemini (and Taurus, as much as he can):
Arithmetic Village
Printable Games
Tumblebooks Math stories
Counting to 100 by 1s, 2s, 5s, 10s
Addition 1-10
Tumblebooks Early Readers
Kindle and library story books
Ordinary Parent's Guide to Teaching Reading
Mensa For Kids Excellence in Reading K-3
Multimedia writing practice
Memorization- Days of the week, Seasons, Months of the Year, nursery rhymes
PreK rotation from last year
All together:
Art/handicrafts
Story of the World 3
Pronto Lessons Biology, Anatomy, Physics
Mango Japanese


