Showing posts with label Homemade Beauty. Show all posts

Thursday, October 17, 2013

First Haircut

Taurus had his first haircut at 2 years and 4 months old. I was a little nervous about cutting his curls, but they are still going strong. 


He was intrigued by the whole experience. He kept turning around in his chair, trying to look at the scissors while I was cutting. 


Neither of us was traumatized by the experience, and now his hair stays out of his eyes. He looks good, don't you think?

Sunday, January 20, 2013

Nourishing Honey Hair Masque

When my wavy hair is dry, frizzy and unruly, a masque tames it in minutes. 


Combine 1/2 cup olive oil and 1/4 cup honey (Raw is best)

Apply to hair scalp. Begin massaging scalp, and then work through to roots. 

Pile hair on top of your head. Let the masque soak into hair for at least 10 minutes, while soaking in a lovely candlelit bath. (Bath is optional, but if you are going to beautify, go all out, right?) 

Rinse very thoroughly with warm water. Hair will be greasy. If you use shampoo, you might want to use a little. Follow with a vinegar rinse

Thursday, November 29, 2012

Homemade Baby Wipes


Make your own safe, natural baby with this easy recipe. The smell nice and fresh, are free of scary, skin-drying chemicals, are inexpensive to make, glide easily over baby's heiny, and clean far better than plasticky disposable wipes. 

First, you are going to need some wipes. You can buy nice cloth wipes from Etsy or your favorite cloth diaper company, but cheapie baby wash cloths, or even a torn up old bath towel will work just as well. If you use cloth diapers, it only makes sense to use cloth wipes as well. If you don't, wash the wipes with regular baby clothes or bath towels on hot. They will come clean. I promise. 

For disposable wipes, use soft, thick paper towels. Saw a roll in half and pop into a Ziploc container, or just unroll a few and fan fold them into a travel wipes box. I keep a roll of paper towels or shop rags in the car for emergency wipers. 

Now, let's make the wipes solution. 

Start with 2/3 mild liquid soap. Any soap that you feel comfortable putting on your baby's private parts will do- baby wash, baby shampoo, liquid castille soap, melted, diluted Ivory soap, whatever. I wouldn't use harsh, antibacterial hand soap, dish washing detergent, or anything like that. It will be diluted, but remember how sensitive baby bits are. 

Add 1/3 oil. Again, any liquid oil will work. I like apricot seed oil best, but typically use olive oil because I have it on hand. Baby oil will work, but it can be drying. I recommend a nice, skin nourishing oil here instead. Choose something from the kitchen. Coconut oil may solidify if the room temp drops below 70, so I might not choose that one unless it's quite warm. 

Add to this solution a few drops each calendula (optional), tea tree, and lavender oils. Calendula heals minor skin irritations, like diaper rash. Tea tree oil (melaleuca) is an anti fungal. It inhibits growth of mildew, yeast and fungus in the liquid, wipes and skin folds. Lavender is calming and antimicrobial, lends a pleasing scent and prevents funky germs. 

Now, let's put it all together. I like to use a squeezy bottle for solution concentrate. I got mine from a restaurant supply shop for under a dollar, but you can also get them from the dollar store. Think ketchup and mustard. 

I use a wipes warmer for my pampered princes, but any water tight box large enough to hold your wipes is fine. This solution is liquid and will not solidify. 

Mix a squirt of concentrate in enough clean water to cover your wipes. Pour over wipes and flip once to saturate. 

Done! Wasn't that easy?

Update: I have found that for my little princess, I prefer a squeezy bottle to apply dilute solution directly onto the wipes. Add a little squirt-about 1% by volume-to a bottle of water. A spray bottle works here too. Give a little shake before each application if you like, as the oil will separate if it sits a while. 


Tuesday, November 20, 2012

Throat Syrup

This syrup is soothing to a sore throat, calms a cough, and help fight the germs that cause them. 

1/4 cup honey- raw local is best, but use store bought if that's what you have access to
1/4 cup lemon juice
1/4 cup apple cider vinegar
1 tbs whiskey, bourbon or rum (optional)
1 tsp ginger
dash of cayenne

Give 1 tsp twice a day, as needed. I like to give one before bed and one upon waking in the morning. 

NOT SUITABLE for babies under one year. 


Tooth Powder-a Natural Alternative to Toothpaste

Toothpaste is messy, expensive (especially natural toothpastes and those for children), and contains toxic fluoride. After finding 2 kids eating toothpaste on 3 separate occasions, and D having to saw a section of pipe to remove the clog caused by 7!! toothpaste caps, we decided to switch completely to homemade tooth powder. 

I had used tooth powder from a health food store years ago, and much preferred to toothpaste or gel, but it's hard to come by. The homemade version is so inexpensive and easy to make, there's really no reason not to. 

With 4 small children, we were going through a tube of toothpaste a week, and most of it ended up on the walls, floor and sink. This tooth powder stays in the jar, is colorless and easy to clean up. It's completely edible, so no worries if someone swallows it. 

It can be flavored with a few drop of flavoring oil from a cake decorating store, but my family prefers it unflavored. It tastes mildly salty and sweet. 

1 tbs baking soda
1 tbs sea salt 
1 tsp xylitol

Mix together. Dip dry toothbrush in and scrub away. 

Baking soda is a mild, but effective abrasive. It does the scrubbing. 

Sea salt provide minerals to rebuild enamel. 

Xylitol strengthens teeth and prevents bacterial growth the leads to tooth decay. 

Wednesday, July 11, 2012

No poo- an easy alternative to shampoo


You may have heard of the no-poo movement. There are multiple alternatives to chemical laden, commercial shampoo and conditioner. This is the easiest and most accessible.

First, why no-poo? I know some of you are having visions of stinky, dirty, flea-infested hippies. Life without shampoo? How? Why?

Shampoo is laden with nasty chemicals. Here is a list of ingredients commonly found in shampoos. Shampoo begins with a glycol base, to which toxic foaming and clarifying agents and fragrances are added.

Shampoo creates a lovely foam, which is tactilely pleasing, but also strips hair of natural moisture and oils. This dry, rough texture necessitates the use of conditioner. Conditioner coats hair in a waxy, sticky residue which first makes hair look shiny, glossy and smooth, but quickly attracts dust and dirt requiring the use of more shampoo.

Shampoos labeled "Natural" and "Herbal" are not necessarily better than conventional shampoos. Often herbal ingredients are added to the usual base, which improves the scent and possibly the texture, but does nothing to reduce toxin exposure. Truly toxin-free shampoos are expensive and require research to identify.

No-poo eliminates the coating and stripping cycle. A simple cleanser is used, followed by an acidic rinse (more on this later). No-poo can be extremely inexpensive, and easy. This method is foolproof. You can make your own products from 3 ingredients in your kitchen in a matter of seconds. You can adjust the mixtures to meet your specific needs.

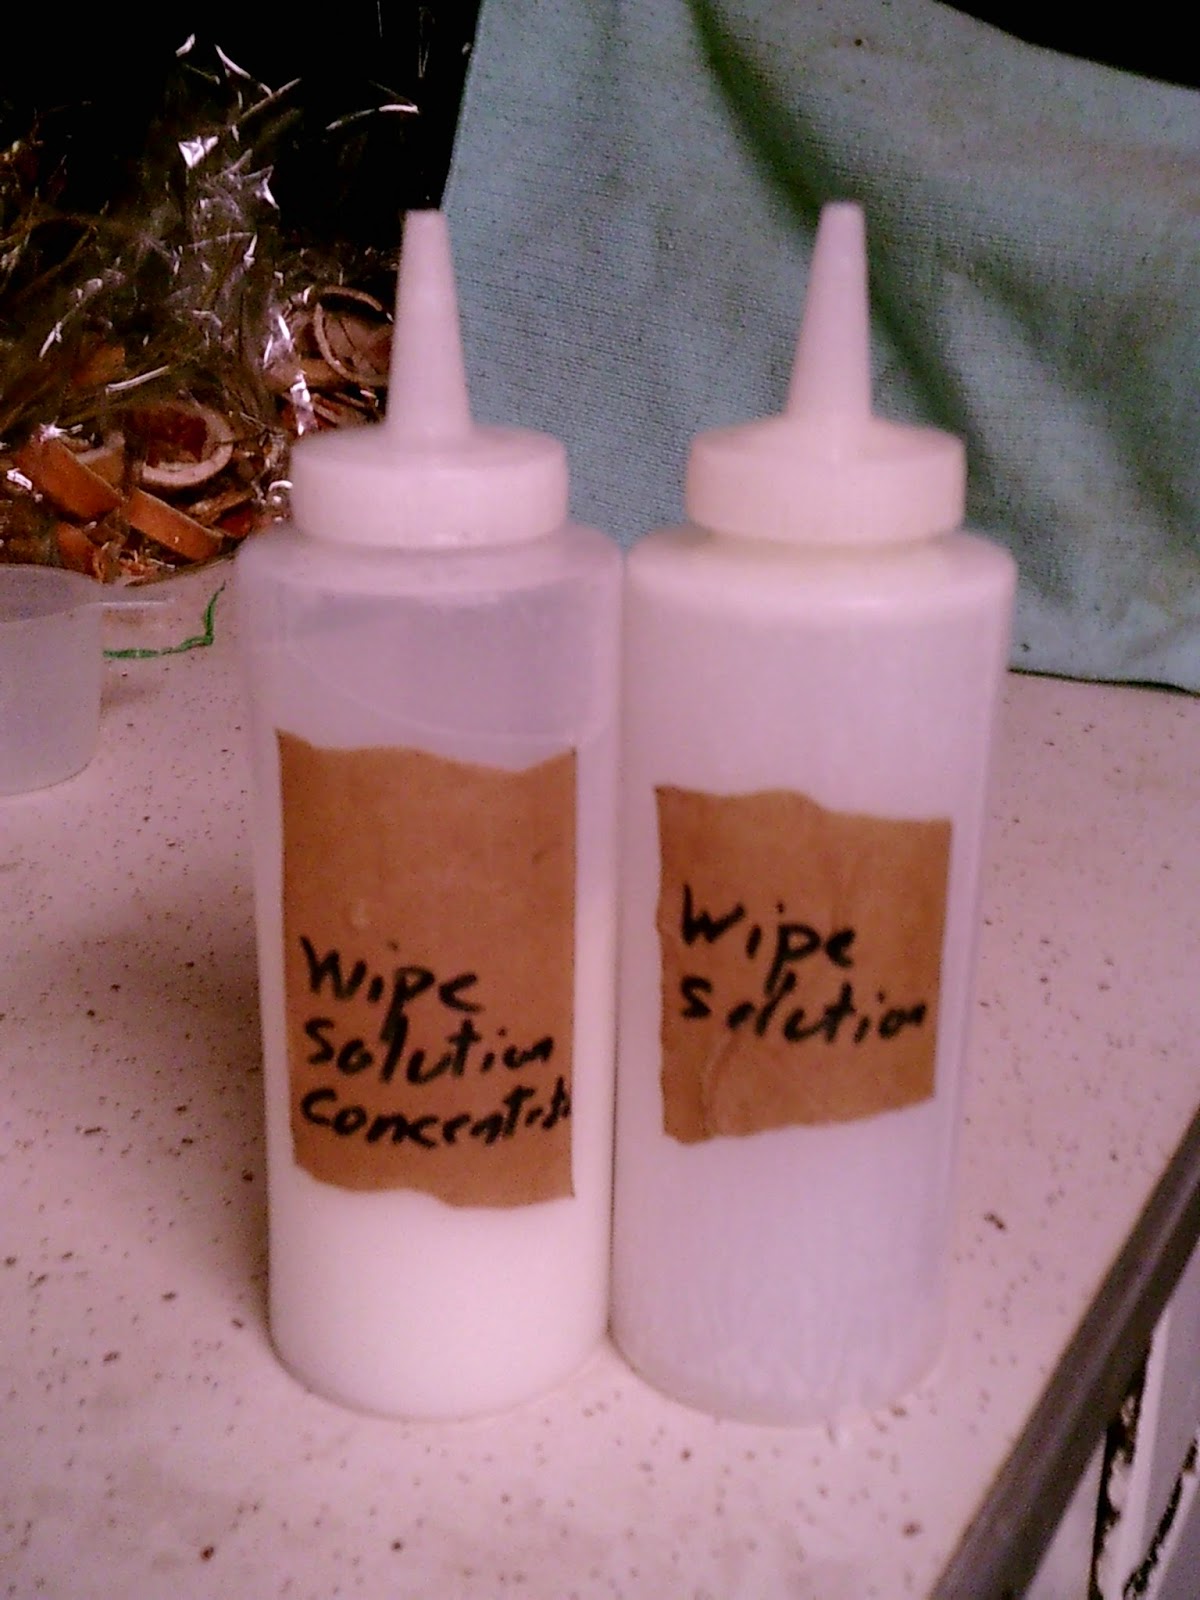
Let's get started. You will need 2 containers. The picture above shows 2 travel sized squeeze bottles. I'm not sure where I aquired these. I think they came in a package with something else. I would suggest avoiding glass in the shower, for obvious reasons.

Fill your first container halfway with baking soda. Fill your second container halfway with either white or apple cider vinegar. I prefer apple cider vinegar, if I have it on hand. Any vinegar will work in a pinch.

Top each container off with water. If you like, you can add a drop or two of body safe scented oil or essential oil to the vinegar. Citrus and spice scents are especially adept at masking the pickly odor.

To use, wet hair thoroughly. Apply baking soda mixture to the crown and hair line. You may mix it with less water to make a paste, or more water to make more of a liquid. It won't froth or spread well like shampoo, so you may have to experiment a bit to find the dilution that works best for you. It will separate as it sits. You can see it starting to separate in the picture above, in the time it took me to turn on my camera. Massage it in and rinse well in warm water.

Next, apply the vinegar mixture to the full length of your hair. Let it rest for a minute or so and then rinse. If it stings, dilute it more.

That's it. Simple enough, right?

Now, let's talk a little about how it works.

Baking soda is a cleanser. It's great for a multitude of surfaces, bathtubs, sinks, pots, laundry and hair. It can be harsh and drying if overused. You may find that you can cut back on washings to every other day, once a week, or even less, if your hair is very dry, coarse, and/or curly (like mine).

Vinegar is an acid. Each individual hair is covered in an outer layer called the cuticle. The cuticle is made up of smooth little scales, not unlike a snake. Daily wear and tear cause these little scales to lift away from the body of the hair, giving the hair a rough surface and a frizzy, unruly appearance. The acid in the vinegar smoothes the cutile layer back down, returning the smooth, snaky texture. If your hair is super smooth, you can skip this step, but I like this part even better than the baking soda part.

What about smelling like a salad? The scented oil that you may have added will mask that smell, as I mentioned earlier. But even if you don't use it, the vinegar smell will evaporate, leaving behind the unadulterated scent of clean.